Introduction #
Welcome to A Dawn of Heroes (ADOH), a Neverwinter Nights – Enhanced Edition (NWN:EE) Persistent World based on a heavily modified Nordock realm, originally imagined and created by Marc Richterm, et. al over 20 years ago. Story Lite/Action oriented, with room for both story and action play styles!
This guide is written with the assumption that you have at least played through the single player campaign and have a basic understanding of the user interface and general game-play.
It is also assumed that you have read through all Rules and information contained within the ADOH Website.
We also have a Discord, join us!
ADOH is hosted on a server owned, operated, and maintained by the Admin TomRotfl, with the support of the ADOH Team. The NWN:EE game you purchased provides you access to the base single player module and contains the ability to connect with independently run servers who host various types of NWN:EE modules.
Please note that ADOH is not Blizzard, ArenaNet, Wizards of the Coast, or some other corporate entity where you as a player have some semblance of entitlement based upon your purchase of the original NWN:EE game itself.

Readme first: #
This guide is written with the assumption that you as a player have at least played through the single person campaign and possess a basic understanding of the user interface and general game-play.
- It is assumed that you have read through all rules and information provided contained within the ADOH website.
Etiquette #
- It’s OK to let people know you are new. People that have been around longer tend to be helpful.
- Always try to clean up spawns you trigger.
- Limit shouts and voiceset spam.
- Be kind and considerate. Remember not everyone will be a native English speaker!
- Use the Player Menu to join a Party, and don’t Loot during combat.
- Be prepared to explore and try things out. This is an older game and it won’t always hold your hand.
Getting Started #
Surfacer #
The Race you chose at character creation will determine which faction you belong to and your starting location. If you select a default race (human i.e.), you will by default be in the Surfacer’s faction, with a starting point of the town of Benzor.
We suggest you create a Surfacer race character as your first character.
1) Your character #
- Make a Cleric, Druid or Warlock. Make sure to leave space for craft skills for Crafting and the Spell Focus (Conjuration) feats for improved Summons, those will make your life easier.
- You can of course make any character you want, but be aware that casters generally have an easier time to start with due to their lower reliance on gear and higher ability to put summons between themselves and hostiles.
- Optionally, you may want to take ranks in Ride to effectively use a Mount.
- Mounts can be purchased from merchants such as the Stable Master in Benzor, or (Rarely) looted from Bosses. Mounts can provide a number of benefits, but do require some important investment on them if you want to use Mounts in combat!
- For the purposes of this guide choose a Free Race of the Surfacer Faction so your starting location will be Benzor.
- If you want to try things out you can use the Test Area to try out a build, preview End-game Items and check out available character Skins.
2) Gear & Preparation #
- Get starting gear from the Newbies store in the Gateway, or open your Player Menu and load the store from there if you have missed it.
- Make sure to pick up some food for Resting and some potions of invisibility for exploring more safely
- Head to the temple and check the Donations and Unwanted Gear Chests, you might find some free stuff. The Temple also holds the important recall portal for joining parties.
- If you can get sets of crafted or Colored Items you get a powerful Set Bonus. Mastercrafted items have this set bonus work with colored gear
- Open your Vault and store some supplies for later. This is also a handy place to put extra loot and crafting materials
- Go to your Player Menu and enable crafting using materials from the vault, and open the Fast-Cast setup to bundle all your buff Spells into one hotbar slot
From the moment you begin to adventure, loot creatures, complete quests, level up, etc, you will find yourself in need for better gear. This gear can be acquired as quest reward, looted from creatures, crafted, or purchased from merchants. You can also purchase crafted gear from other players, which they sell in the Trade Hall (very convenient prices for new players!)
Persistent haste gear does exist in all sorts of loot drops and can be also crafted. Get your hands on one as soon as possible!
3) Collect your Henchman #
Find Captain Henroid Tucker walking around town, talk to him and get yourself a fighter Henchman. This is Brock. Brock is your friend. Equip him with gear/heals and add the Associate Control from your radial menu to a quickslot
4) Partying and Questing #
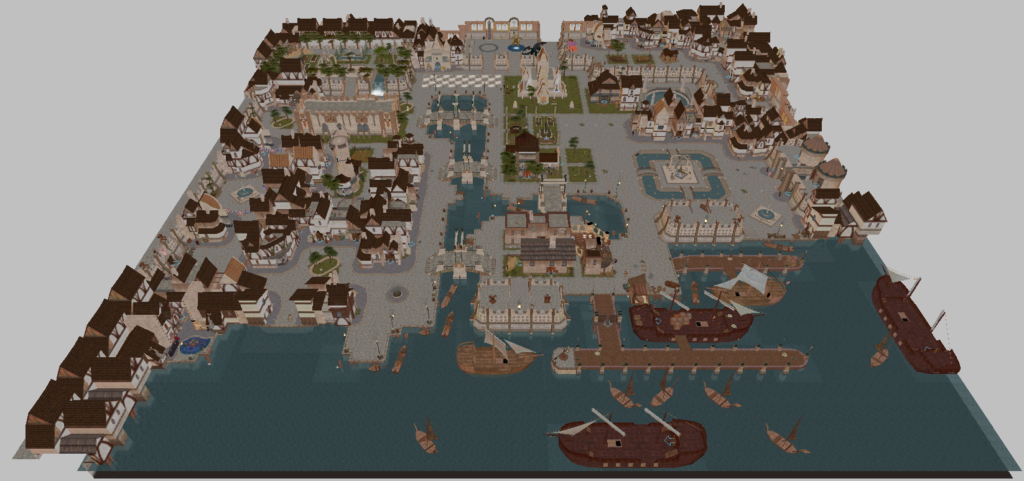
- Start collecting the Quests at the tavern by the docks, and then everything in the citadel. The trade workshop will get you started with Crafting (hold onto a crafted dagger, hammer and axe for collecting materials in the field). Then head out the east gate and talk to the bounty hunter too.
- If you are so inclined, you can use the Player Menu to check if you’re able to Party Up with anyone within 7 effective levels of yourself.
- Hoard any Tokens you come across, this is your premium currency for endgame items and the Trade Hall.
- If you have an extra screen available, it can be very helpful to have the Map open on it.
Levels 3-6 #
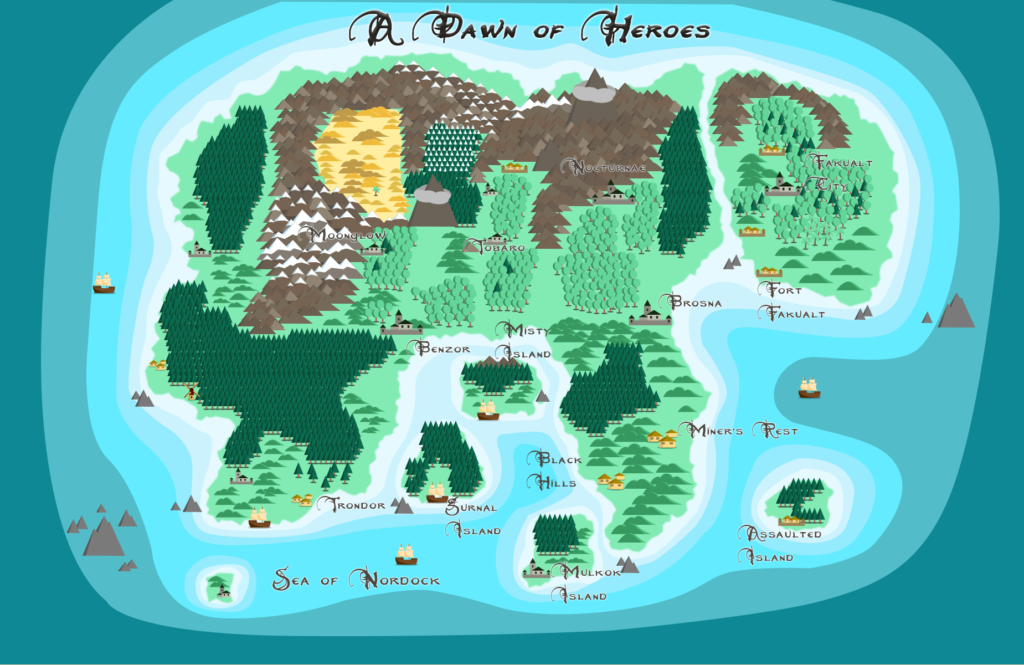
- Your starting quests will direct you north and east of Benzor. These areas will have a good amount of crafting materials you can gather along the way, throw it all in your vault. Animals are worth the XP and skins
- Don’t go farther than the weary rest inn just yet, the Garbalogs and common woods will kill you. Remember you can use your player menu to teleport back to town once per hour
- The Zenghi highlands should be fine, but beware the caves.
- This should get you to level 6 or more without much issue if you kill and quest your way through the valley. If you get stuck on one spot just switch to another for a bit
Levels 7-10 #
- In Benzor the potion shop and reality wrinkle should have quests for you to check out the castle Avangon ruins in the east where you have just been running around, slightly beyond the crypt you would have cleansed
- Some of your existing quests should now be pointing you towards the Benzor sewers and west, which holds plenty more to pick up and try. Again don’t feel bad if you get stuck on one thing, have a look around and try one of your other options. Rely on Brock and your summon(s) to do the heavy lifting without getting yourself clobbered
- Work on your craft skills. You can break down your items in the forge to recycle materials or throw what you make into the vault and take a boat to Mulrok to buy/sell crafted items at the trade hall. If you haven’t completed your (and brock’s) item sets, do so now.
- If you want you can also take a boat to Trondor and walk north up to Bria’s Fay for some more quests there, including the locked temple if you swap your henchman to a rogue
- There’s a chain of quests at fort fakualt (take boat to Kabu and walk north) that you should be able to make good progress into. You can change home locations using the Bindstone.
Levels 11-14 #
- This is the time you can really get some progress on the Main Quest, which will take you out by boat to Kabu
- In the eastern march you can try the Garbalog quests to get a good pair of bracers (for Brock if not yourself)
- Brosna will have a few quests you can start doing now including a daily quest in south Brosna. This is very helpful for getting you some tokens saved up for a Small House, which you can teleport to in your player menu just like your bindstone location.
- If you head out of Brosna a bit you can catch a boat to Abiz for more quests there too
- Also from Brosna you can walk over to Sholo and cave down into Makanor, then past the boat to where all the quests are. You could take the boat to the Northern Chasm too, there’s a few quests you can do in that area even if you are not a drow.
Levels 15-18 #
- Again to the east of benzor/weary rest inn you can explore Trommel Wood and Common Wood, a good source of quests including through the Trommel mines (Pillar Research is a long one)
- Brosna south will have the quest chain that provides you your remote Brock summoner, a very valuable quality of life improvement that saves you visiting the guard captain every time you log in
- This is when the Dungeons in the Mulrok Headhunter’s guild become available to you. They might be too hard to complete just yet, but they are a good way of getting around!
- Dont forget your crafting, make sure it’s keeping pace with you. Start aiming for masterful gear to mix with brilliants you are picking up from quests.
Levels 19-22 #
- Yet more Benzor quests unlock at 20, mostly in the east but also in the citadel and next to Galdor.
- Don’t forget the main questline! If you haven’t already, Boat to Brosna > walk to Sholo > Boat to Underdark South > walk to Chaulssin. The main quest is important to get your Brock past level 20 and for you to get more teleport options
- Black Hills heading towards Miner’s Rest has a few quests, but beware giants. From Miner’s rest you can reach the T’Rel swamps which a Brosna quest may have pointed you towards, now is a good time to start working on this area and its questlines. T’Rel is also relevant to the Main Quest for getting Brock’s Dagger, assuming you can’t get one at the Mulrok craft shops.
- The Grim Gorge (West Benzor) and Royal Palace (Abiz) dungeons are good to buddy up for
Levels 23-26 #
- You can head for the infamous west coast! Most people hitch a ride, but you can go to Trondor > Bria > teleport > walk south to get there yourself without too much issue
- Moonglow has some quests for you, which culminates in the Old Tower dungeon. You can get there by heading north from Benzor a few maps and then west once you reach the caves. North and east leads to the northern orcs which lacks quests but is still good
- Make sure to complete the stage 1 dungeons in the Headhunter’s guild which unlocks the stage 2 dungeons. Same as before, they might be difficult to complete but are more convenient teleports to get around even if you have unlocked your full set of mainquest wings teleport options.
- A lot more will be doable for you to clean up around Benzor, Brosna, Trommel, T’Rel, Fakualt, Abiz and the Underdark.
Levels 27-30 #
- Tobaro is a popular location after west coast and has a good number of quests. You can take the Annihilator portal and walk south, or head through the pass in Trommel woods
- This is when crafted gear stops scaling, Gold/Mithral is the limit. Remember that mastercraft will still work in conjunction with brilliant and vengeful gear so it doesn’t stop being useful!
- Make sure to double back and finish that pesky Grim Gorge dungeon for improved bracers!
- Back at the trommel woods there is the druid grove dungeon, don’t forget to give that a try too
Levels 31-34 #
- West coast will unlock additional quests for you, including the adjacent Cape Doom and Minotaur pass areas
- Gurnal island is a popular ‘final few levels’ area and has a good number of quests. You can boat there from Mulrok, and its also where you go to finish the Mainquest
- Brock will stop levelling with you now even if you are up to date with the mainquest, though he is still very useful and reliable!
- You should be able to finish the stage 2 dungeons in the Headhunter’s guild which unlocks the final room for Sangrolu, also called Fury Tower.
Levels 35+ #
- You have reached the endgame. At this point you will be able to finish any of the level 15 and 20 dungeons you have come across in your travels, visit most locations without much issue and participate in DM events like World Bosses
- Once you have finished up any quests you come across, your bread and butter will be the final dungeons
- Completing the Abiz quest chains gives you access to two portals, one right to Archer and the other close to the Royal Palace, a few maps walk to Dead Wyrm
- You should be familiar with how to get to Bria’s Fay to take the portal to Elder Wyrm, and where to take those pieces to the minotaur in west coast which is also conveniently close to the Goblin Armory
- Tobaro will send you to Tod (the Temple of the Dead), which is also a weekly recurring quest alongside its partner the Chaulssin vault heist
- Directly north of Moonglow lies Damned Tower, which holds the questchain for the final form of the Tribeslayer bracers. You want those.
- The Headhunter’s Guild provides you convenient portals directly to Fury Tower and the Drow Citedel
- With quests and dungeons you should be stockpiling a decent amount of Tokens, nords items and Socket Gems. Keep the ones you can use and for the rest either sell them at the market or scrap them at Castle Glendario (portal from Mulrok). Your aim should be getting gear you want for your character to make vengeful (requires two of the same nord or green item also at Castle Glendario) and getting everything you need to start raiding in groups
Forums #
ADOH utilizes Discord as a means for voice chat and forum usage. Join us!
Join our Community! #
TEST Zone #
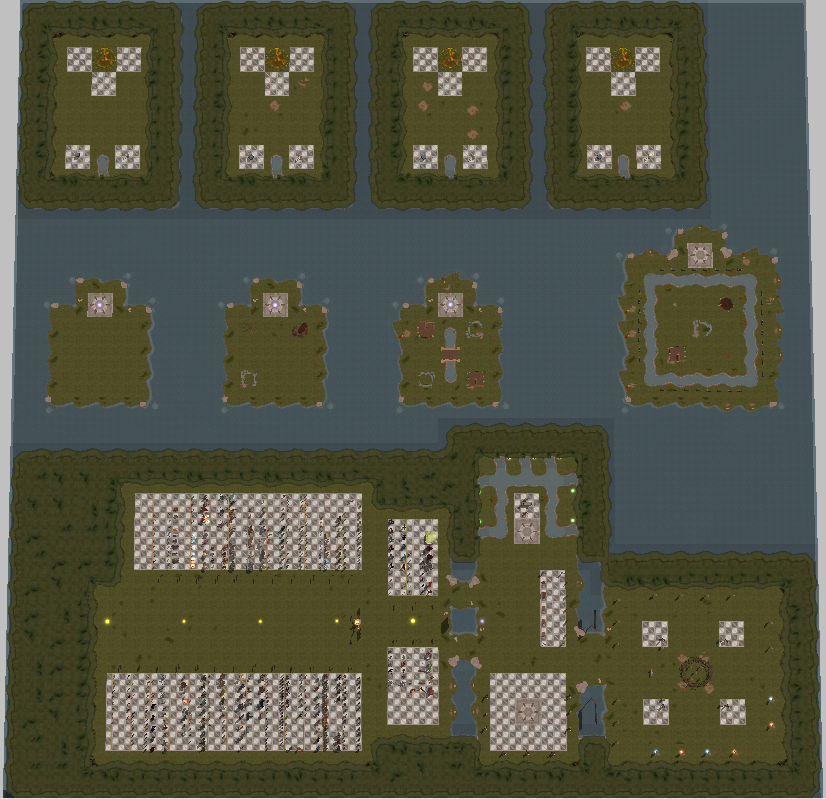
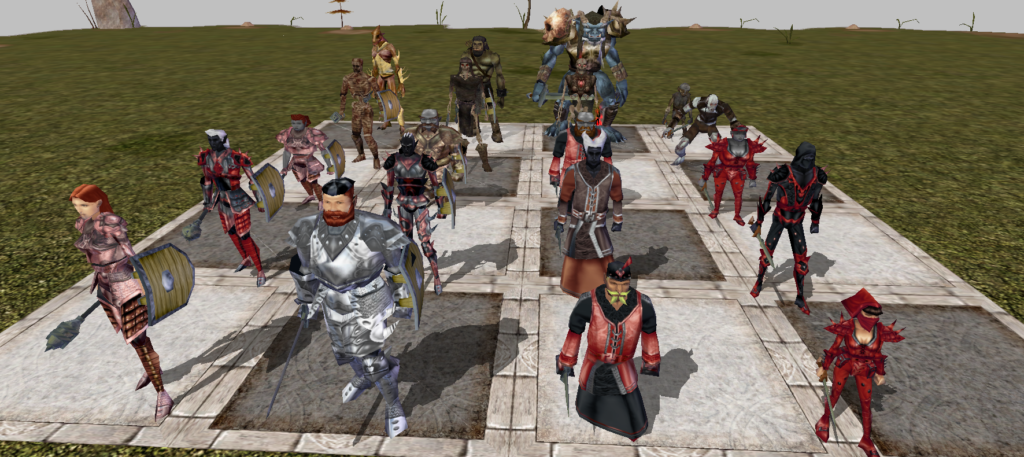
If you suffer from alt-itism (and let’s face it, we all do!), you can make a character with the name TEST to try it out first in the Test Area. This lets you play around with Premium Races, get a look at Endgame Items, test special Character appearances, engage in PVP fights, test your builds against DPS dummies, test your builds against specific creatures/bosses, and so on!
Useful Skills #
Some skills are more useful than others in ADOH and some are outright worthless.
Very Useful #
- Discipline
- Concentration
- Pick Pocket
- Tumble
- Use Magic Device
- Ride (Required to make use of the fastest mounts)
- Appraise (Used to receive good prices while selling items to merchants. Useful if you are new!)
- Crafting skills (The vanilla NWN Crafting skills have been modified to work with the GTS Crafting System)
- Spellcraft (needed for several prerequisites like Epic Spells, grants +1 to saves vs spells each 10 points)
Less Useful #
- Conversation skills such as persuade (for now at least)
Henchmen #
All factions starting areas have a NPC which will allow you to hire a Henchman that can accompany and support you during your adventures.
- It is highly recommended that you receive your henchmen as soon as possible when you begin your play through. All factions starting zones have quests that naturally introduce you to your henchmen, so don’t be worried if you don’t know where to get them.
- Read more about Henchmen on the dedicated Wiki Page.
Miscellaneous Tips and Tricks #
- Dark Fire (Cleric), Flame Weapon (Wiz/Sorc) and Improved Invisibility are useful through the entire game.
- Discretion can be the better part of valour – Don’t be afraid to drink an Invisibility Potion and run if you end up out of your depth.
- Be mindful of spawns that were triggered by higher level players, some may be well beyond your abilities. Inspect the foe from afar if he looks like he could take on your whole group himself.
- Lore is a useful skill when you start out, have no gold to ID, and are in need of better gear. A few skill points if you can spare them to about 10-15 should be fine. Beyond that, the need to ID items outside of town will lessen and you will likely not mind the ID cost.
- Beyond skeletons and zombies, undead will likely fear you or use death magic. Be sure to have a way to mitigate this risk..
- Generally, the further you venture from a town, the tougher the foe are.
- Don’t skip on consumables! You can easily pick up various potions around most towns, plus a few other choice items like stoneskin salves. At lower levels dying won’t cost you much XP, but keeping a Rod of Resurrection on hand for a friend saves you time getting back to the fun.
- Bags do exist, even 100% weight reduction bags. These are not a must to start with as you can use your Player Menu to summon your account wide player vault to store items in. You can also activate the Bags Autofill system.
- There are several other useful items you will come across during your travels. Some are more useful than others. A Bard or Rogue character invested in Use Magic Device (UMD), gets to play with all the fun toys.
- There is a Fast Casting System that is accessible via your Player Menu. This incorporates Metamagic and Domain Spells. Very handy for all casters!
- You can also store your spell books and quickslots to prepare yourself to face any sort of challenge!
Leveling Dungeons #
Lvl 15+ Dungeons #
These dungeons are designed to give players their first experience in ADOH dungeon dwelling. Well organized and well-rounded parties can successfully run these dungeons where up to +5 loot, Epic Tokens and Skin tokens can be acquired. Some dungeons can be good leveling areas for parties, not only the dungeon itself, but the areas leading to them.
As you take on harder dungeons, you will start getting a taste of boss mechanics. Watch out for those circles appearing under you!
- Get to know these dungeons well, as you acquire some epic Epic Tokens.
- There are also LVL 21+ Dungeon, LVL 40 Dungeons and LVL 40 Raids.
Glondar’s Rest #
This is a one area Dungeon, and probably the easiest one available on ADOH. Glondar’s crypt can be found deep in the Black Hills mines.
Graktan’s Lair #
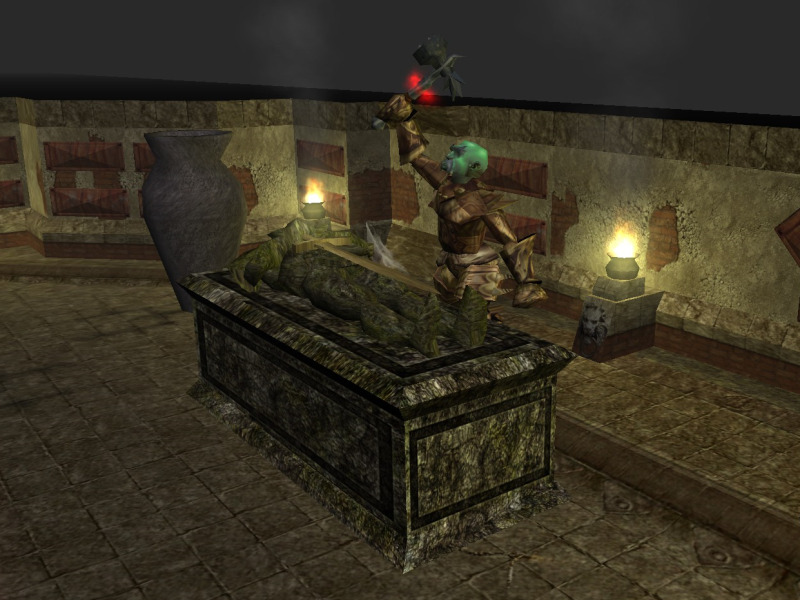
Graktan is the leader of the West Benzor Goblins tribe. He is deadly and evil. His throne room can be found deep inside goblins lair caves. Careful, his goblins are deadly too!
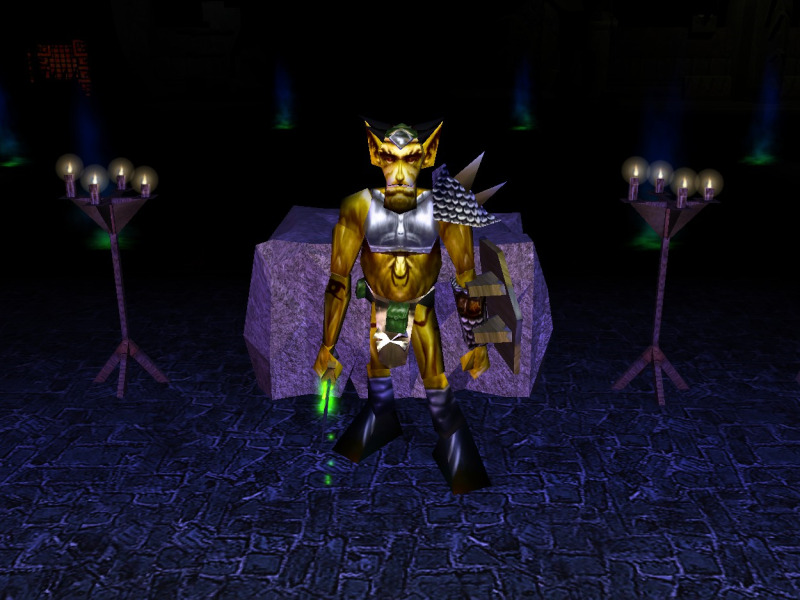
Dread Castle #
Dread Castle can be found in the Legendary Forest. Adventure East from Brosna, pass the beach and head into the caverns. Once in the legendary forest, you will see its entrance. Gundar is waiting for you.
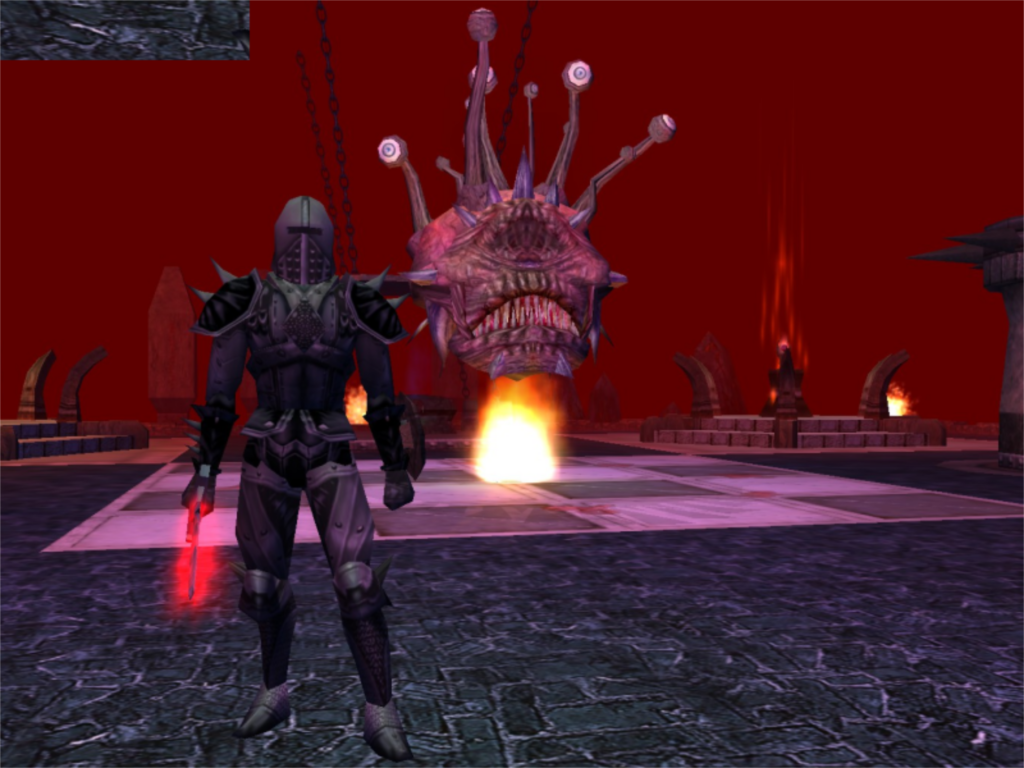
Gorgoroth’s Cave #
Gorgoroth is the Pitunk Clan leader, and his cave can be found deep inside their lair. The whole clan will stand between you and him, so be careful. Head to the Black Hills, and search for a cave guarded by orcs.